

Oh my goodness, let me tell you about these *Magic Bars*! They’re like little bites of heaven with layers of rich chocolate, sweet coconut, and crunchy nuts all packed into one delicious treat. I remember the first time I made them; my family couldn’t get enough! The combination of flavors and textures is just unbeatable. What I love most is how easy they are to whip up—perfect for last-minute gatherings or when you just need a sweet fix. Seriously, once you try these bars, you’ll understand why they’re called magic. Trust me, they’re sure to become a favorite in your home, just like they are in mine!
Ingredients for Magic Bars
Gathering the ingredients for these Magic Bars is super simple, and I bet you already have most of them in your pantry! Here’s what you’ll need:
- 1 cup graham cracker crumbs
- 1/2 cup unsalted butter, melted
- 1 cup sweetened shredded coconut
- 1 cup chocolate chips (I like semi-sweet, but feel free to mix it up!)
- 1/2 cup chopped nuts (walnuts or pecans work beautifully)
- 1 can sweetened condensed milk (14 oz, the magic glue that holds it all together!)
Just a tip: Make sure your butter is melted but not too hot—this helps everything combine nicely without any splattering. Now, let’s get ready to bake some magic!
How to Prepare Magic Bars
Alright, let’s dive into the magic of making these bars! It’s all about layering those flavors and textures just right. Follow these simple steps, and you’ll be enjoying your homemade Magic Bars in no time!
Step 1: Preheat the Oven
First things first, you need to preheat your oven to 350°F (175°C). Preheating is key because it ensures your bars bake evenly. You don’t want to throw them into a cold oven and risk uneven cooking, so let that oven get nice and warm while you prepare the rest!
Step 2: Prepare the Crust
In a mixing bowl, combine the graham cracker crumbs with the melted butter. I like to use a fork to mix it all together until it resembles wet sand. Once it’s well combined, press the mixture into a greased 9×13 inch baking dish, making sure it’s packed down tightly. This forms the delicious base that holds everything together!
Step 3: Layer the Ingredients
Now, it’s time for the fun part! Sprinkle the sweetened shredded coconut evenly over the crust, followed by the chocolate chips and chopped nuts. Feel free to get creative here—layering is where you can really make these bars your own! Just make sure each layer is evenly distributed so every bite has a bit of everything.
Step 4: Add the Sweetened Condensed Milk
Next up, pour the sweetened condensed milk evenly over all the layers. This is the magic glue that binds everything, so take your time to spread it out as evenly as possible. You want every bite to have that creamy goodness!
Step 5: Baking
Pop the baking dish into your preheated oven and bake for about 25-30 minutes. Keep an eye on them, and look for that beautiful golden-brown color on top. A little bubbling around the edges is a good sign that they’re getting close to done!
Step 6: Cooling and Cutting
Once they’re out of the oven, let the Magic Bars cool completely in the dish. This is crucial because it allows them to set up nicely before cutting. Once cooled, grab a sharp knife and cut them into bars. I like to go for about 16 generous pieces, but you can make them smaller if you want! Enjoy your delicious, homemade Magic Bars!
Why You’ll Love This Recipe
- Quick Preparation: These Magic Bars come together in no time—just 15 minutes to prep and then let the oven do the work!
- Flavorful Layers: With layers of chocolate, coconut, and nuts, every bite is a delightful explosion of flavor and texture.
- Easy to Customize: Want to mix it up? You can swap out the nuts, try different chocolate types, or even add dried fruits for an extra twist!
- Perfect for Gatherings: They’re a crowd-pleaser at parties, potlucks, or just a sweet treat for family movie night. Everyone loves them!
Tips for Success
Alright, let’s make those Magic Bars even more magical! Here are some of my favorite tips to ensure you get the best results every time:
- Experiment with Chocolate: Don’t feel like you have to stick to just one type of chocolate chip! You can mix it up with milk chocolate, dark chocolate, or even white chocolate for a fun twist. Each type brings its own unique flavor!
- Add Dried Fruits: If you want to give your bars a little extra flair, try adding some dried cranberries, cherries, or even apricots. They add a lovely chewiness and a burst of flavor that complements the chocolate and coconut perfectly.
- Make It Nut-Free: If you’re making these for a nut-free crowd, simply leave out the nuts or replace them with seeds like sunflower or pumpkin seeds. You’ll still get that great texture without any allergens!
- Keep an Eye on Baking Time: Every oven is a bit different, so start checking your bars a few minutes before the suggested baking time. Look for that golden top and a slight jiggle in the center—they’ll firm up as they cool!
- Chill for Better Cutting: If you want to get those perfect, clean cuts, pop the bars in the fridge for a bit after they cool. This helps them set up even more and makes slicing a breeze!
With these tips, you’ll be on your way to making the most delicious and customized Magic Bars that everyone will love! Happy baking!
Nutritional Information
Now, I want to be upfront with you—nutritional values can vary based on the specific ingredients and brands you use. So, while I can’t give you precise numbers, here’s a general idea of what to expect per serving (1 bar):
- Calories: 200
- Fat: 10g
- Saturated Fat: 6g
- Trans Fat: 0g
- Cholesterol: 15mg
- Sodium: 100mg
- Carbohydrates: 26g
- Fiber: 1g
- Sugar: 18g
- Protein: 2g
Keep this in mind as you indulge in these delicious Magic Bars—balance is key! Enjoy every bite while keeping your nutritional goals in check!
FAQ about Magic Bars
Got questions about these delicious Magic Bars? Don’t worry, I’ve got you covered! Here are some of the most common questions I get, along with the answers to help you out.
How do I store leftover Magic Bars?
You can keep any leftover Magic Bars in an airtight container at room temperature for about 3 days. If you want them to last longer, refrigerate them, and they’ll stay fresh for up to a week. Just remember to let them come back to room temperature before enjoying for the best flavor and texture!
Can I make these Magic Bars gluten-free?
Absolutely! Just swap out the graham cracker crumbs for a gluten-free alternative. There are some great gluten-free graham crackers available, or you can use crushed gluten-free cookies or oats instead. You’ll still get that fantastic flavor without the gluten!
What are some variations I can try?
There are so many ways to customize your Magic Bars! You can add different nuts like almonds or pecans, use white chocolate chips for a sweeter touch, or even incorporate some peanut butter for an extra layer of flavor. Dried fruits like raisins or dates also work beautifully—get creative!
Can I freeze Magic Bars?
Yes, you can! Just wrap them tightly in plastic wrap or foil, and then place them in a freezer-safe container. They’ll keep for about 2-3 months in the freezer. When you’re ready to enjoy them, just let them thaw in the fridge or at room temperature. Perfect for when you want a sweet treat on hand!
Why did my Magic Bars turn out too gooey?
If your bars are too gooey, they may need a bit more baking time. Make sure to check for that golden-brown color on top and a slight jiggle in the center. They’ll firm up as they cool, but if they’re still too soft, pop them back in the oven for a few more minutes. Just keep an eye on them!
Can I make a smaller batch?
Of course! You can easily halve the recipe and use a smaller baking dish, like an 8×8 inch pan. Just remember that the baking time may be slightly less, so keep an eye on them as they bake!
Now you’re all set to make and enjoy your Magic Bars to the fullest! If you have any other questions, feel free to reach out. Happy baking!
Storage & Reheating Instructions
Storing your leftover Magic Bars is super easy, and keeping them fresh is key to enjoying their deliciousness later! Once they’ve cooled completely, grab an airtight container and layer them inside. They can stay at room temperature for about 3 days, but if you want them to last longer, pop them in the fridge. They’ll keep nicely for up to a week!
If you’re thinking about freezing them, you’re in luck! Just wrap each bar tightly in plastic wrap or foil, then place them in a freezer-safe container. They’ll be good for about 2-3 months in the freezer. When you’re ready to indulge, simply take them out and let them thaw in the fridge or at room temperature. Trust me, there’s nothing like the anticipation of enjoying a sweet treat you’ve saved for later!
As for reheating, I recommend that you enjoy these bars chilled or at room temperature for the best flavor and texture. But if you prefer a warm treat, you can pop them in the microwave for about 10-15 seconds. Just be careful not to overheat them, or they might get a bit too gooey!
Print
Magic Bars: 6 Heavenly Layers You Need to Try
- Prep Time: 15 minutes
- Cook Time: 30 minutes
- Total Time: 45 minutes
- Yield: 16 bars 1x
- Category: Dessert
- Method: Baking
- Cuisine: American
- Diet: Vegetarian
Description
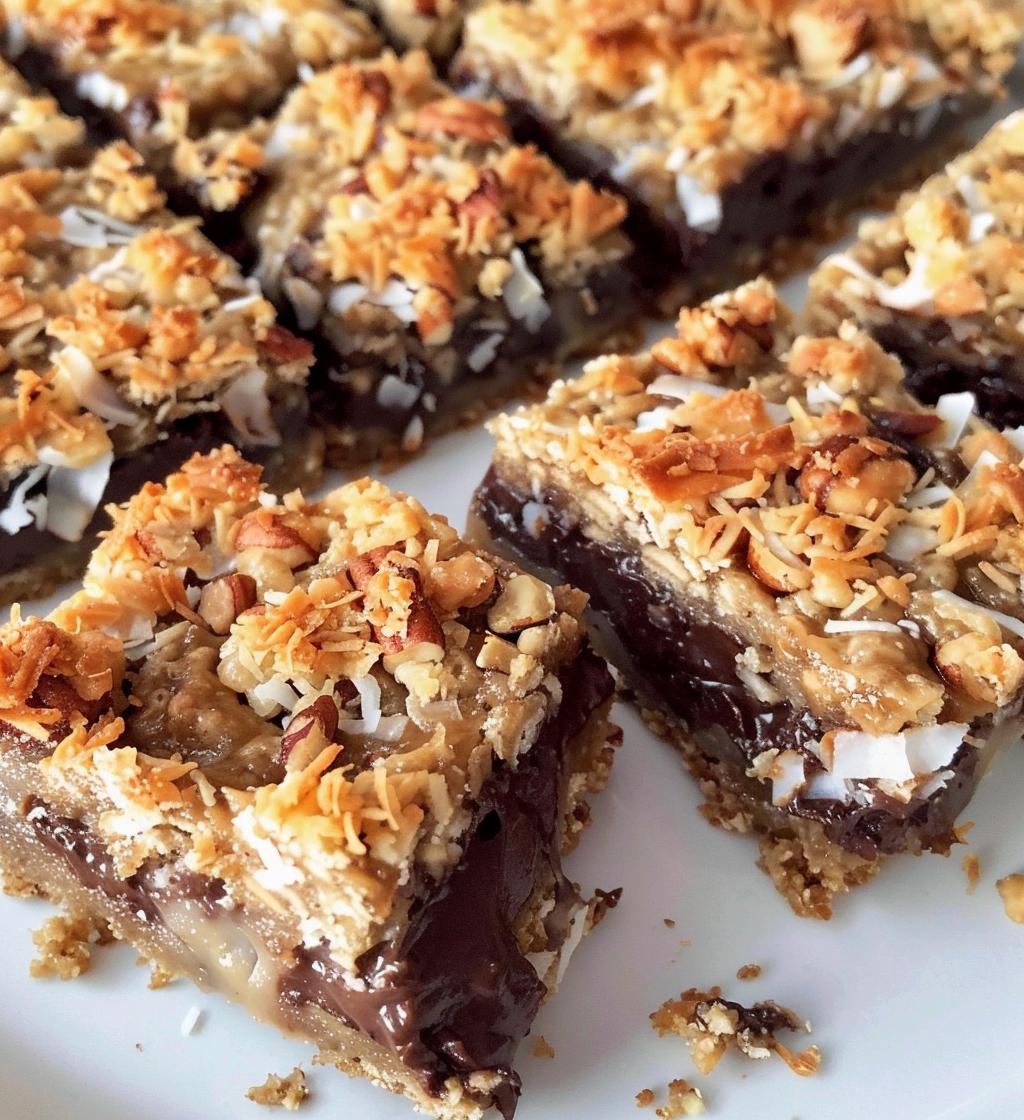
Magic Bars are layered dessert bars filled with chocolate, coconut, and nuts.
Ingredients
- 1 cup graham cracker crumbs
- 1/2 cup unsalted butter, melted
- 1 cup sweetened shredded coconut
- 1 cup chocolate chips
- 1/2 cup chopped nuts (walnuts or pecans)
- 1 can sweetened condensed milk (14 oz)
Instructions
- Preheat the oven to 350°F (175°C).
- In a bowl, mix graham cracker crumbs with melted butter.
- Press the mixture into a greased 9×13 inch baking dish.
- Layer the shredded coconut evenly over the crust.
- Sprinkle chocolate chips and nuts on top of the coconut.
- Pour sweetened condensed milk evenly over all layers.
- Bake for 25-30 minutes until golden brown.
- Let cool before cutting into bars.
Notes
- Store leftovers in an airtight container.
- Try adding dried fruits for extra flavor.
- Use different types of chocolate chips for variety.
Nutrition
- Serving Size: 1 bar
- Calories: 200
- Sugar: 18g
- Sodium: 100mg
- Fat: 10g
- Saturated Fat: 6g
- Unsaturated Fat: 4g
- Trans Fat: 0g
- Carbohydrates: 26g
- Fiber: 1g
- Protein: 2g
- Cholesterol: 15mg
Keywords: Magic Bars, dessert bars, chocolate coconut bars